Starting from the beginning, make chains in the multiple of 10 + 4
❈ ❈ ❈ ❈ ❈ ❈ ❈ ❈ ❈ ❈

Row 1: Make 1 DC into the 4th CH from your hook

Make 1 DC into the next 3 CHs

We're going to make a Valley/DC DEC, yarn over your hook 1 time

Insert your hook into the next CH, grab that yarn you're working with and pull it through, pulling up 1 loop

Yarn over your hook 1 time

Take that yarn through 2 loops on your hook

Yarn over your hook 1 time

Insert your hook into the next CH, grab that yarn you're working with and pull it through, pulling up 1 loop

Yarn over your hook 1 time

Take that yarn through 2 loops on your hook

Yarn over 1 time

Insert your hook into the next CH, grab that yarn you're working with and pull it through, pulling up 1 loop

Yarn over your hook 1 time

Take that yarn through 2 loops on your hook
So what we just did was made 3 DC bottoms in 3 CHs

Yarn over your hook 1 time

Take that yarn through all the loops on your hook to complete that Decrease/Valley

*Make 1 DC into the next 3 CHs

This is our Peak: Make 3 DC into the next CH, this is our DC INC

Make 3 DC into the next 3 CHs

Make a Valley in the next 3 CHs

Repeat the steps above from * until you have 4 CHs left in your row


Make 1 DC into the last 4 CHs of your row
These 4 are going to match the CHs + 3 we made at the beginning of this row
This is important, having 4 STs at the beginning and end of each row will help you keep your count correct, so the edges of your blanket stay straight

Row 2: Make 3 CHs, these CHs count as 1 DC

Make 1 DC into the next 3 STs, so we have our 4 DC at the beginning with those CHs

*We're now going to start the sequence from our last row, make 1 Valley over the next 3 STs

Make 1 DC into the next 3 STs

Make 3 DC into the next ST, 1 Peak/DC INC

Make 1 DC into the next 3 STs

Repeat the steps above from * until you have 3 STs left + CHs from your last row


Make 1 DC into the next 3 STs, then 1 DC into the tops of those CHs from your last row
Repeat Row 2 for however long you want your project

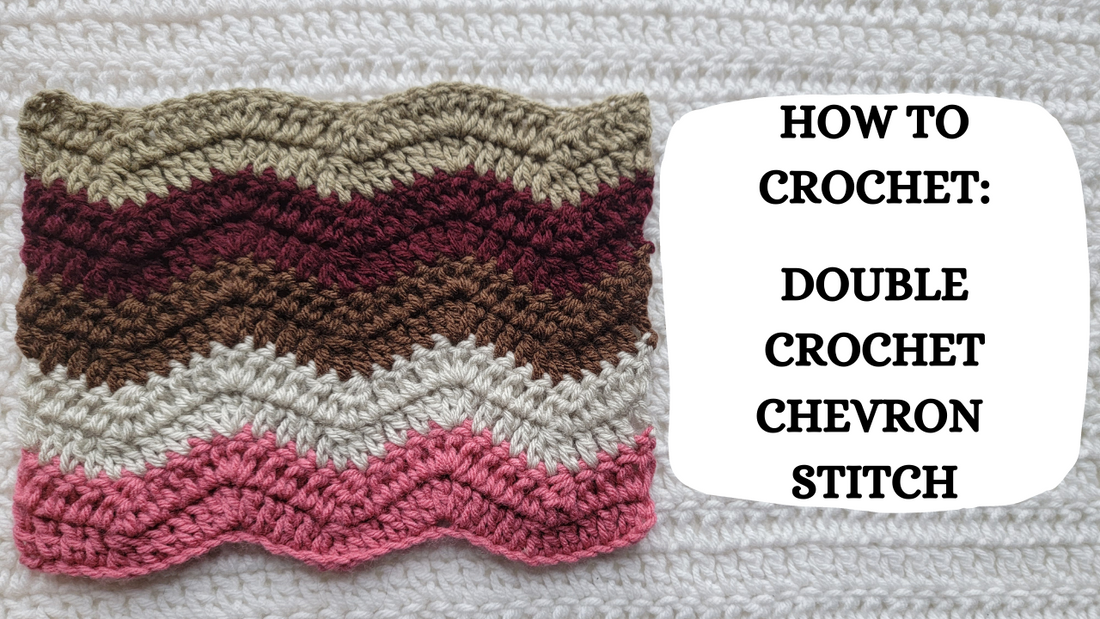
This is what the Double Crochet Chevron Stitch should look like when completed!
❈ ❈ ❈ ❈ ❈ ❈ ❈ ❈ ❈ ❈
❈ ❈ ❈ ❈ ❈ ❈ ❈ ❈ ❈ ❈
The Diagonal Spike Stitch, tutorial here!
The Rice Stitch, tutorial here!
The Classic Wave Stitch, tutorial here!

