
So starting from the beginning, this technique is used at the end of a hat when making it from the bottom up. I have a tutorial on that here!
❈ ❈ ❈ ❈ ❈ ❈ ❈ ❈ ❈ ❈

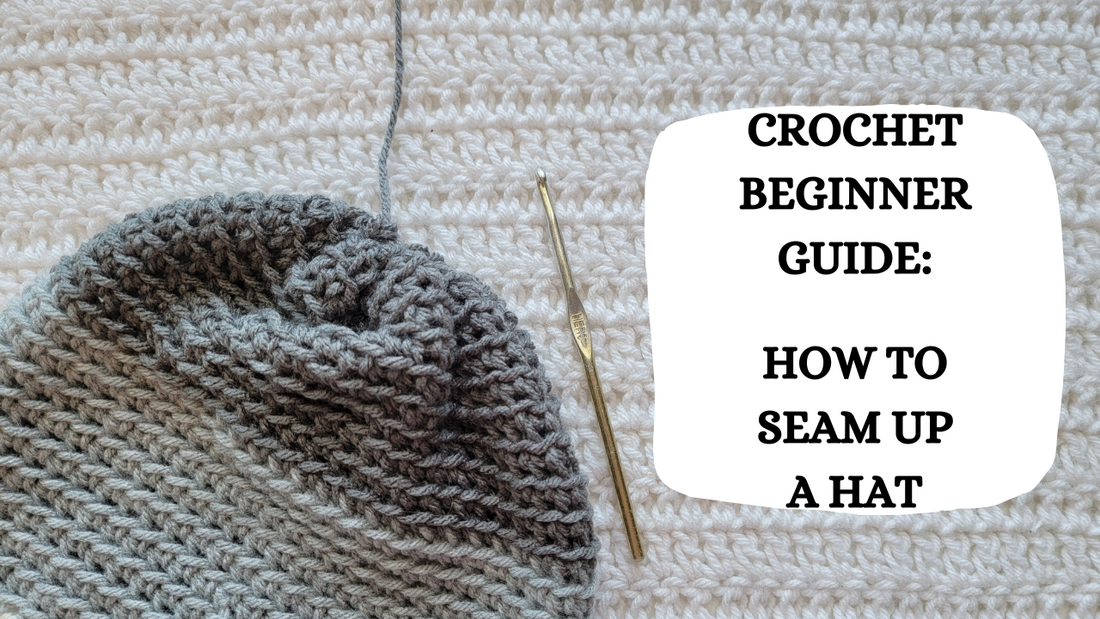
So once you finish the body of your hat, leave a long yarn tail to Seam it Up

Take that yarn tail and pull it through the middle stitches of each side (front and back)


Now pull that yarn tail through the middle stitches of the sides (left and right), then pull the yarn tail and close up those gaps

So once you seam up the 4 sides, you'll have these little openings

You'll do the same thing here, pull that yarn tail through the middle stitch of each gap, then close them up by pulling on that yarn tail


You would now do this for each little gap that gets created until they are all Seamed Up
Row 2: Flip your SQ over, start at a corner space, make 4 CHs

So now that there are no gaps left, you could leave it here if you want or you could now add a pom pom to finish your hat off

This is how a Seamed Up Hat looks like when completed!
❈ ❈ ❈ ❈ ❈ ❈ ❈ ❈ ❈ ❈

❈ ❈ ❈ ❈ ❈ ❈ ❈ ❈ ❈ ❈
The Glover Stitch, tutorial here!
The Cross Hatch Stitch, tutorial here!
The Piggyback Stitch, tutorial here!