

For this tutorial you'll need to know how to make Chains (CH), I have a tutorial here! How to make the Single Crochet Stitch (SC), tutorial here! How to make the Double Crochet Stitch (DC), tutorial here! How to make the Double Crochet Decrease, tutorial here! And be familiar with the Lemon Peel Stitch, tutorial here!
❈ ❈ ❈ ❈ ❈ ❈ ❈ ❈ ❈ ❈

Row 1: Make 3 CHs

Make 1 SC + 1 DC into the 3rd CH from your hook, or the farthest CH from your hook

Row 2: Make 2 CHs
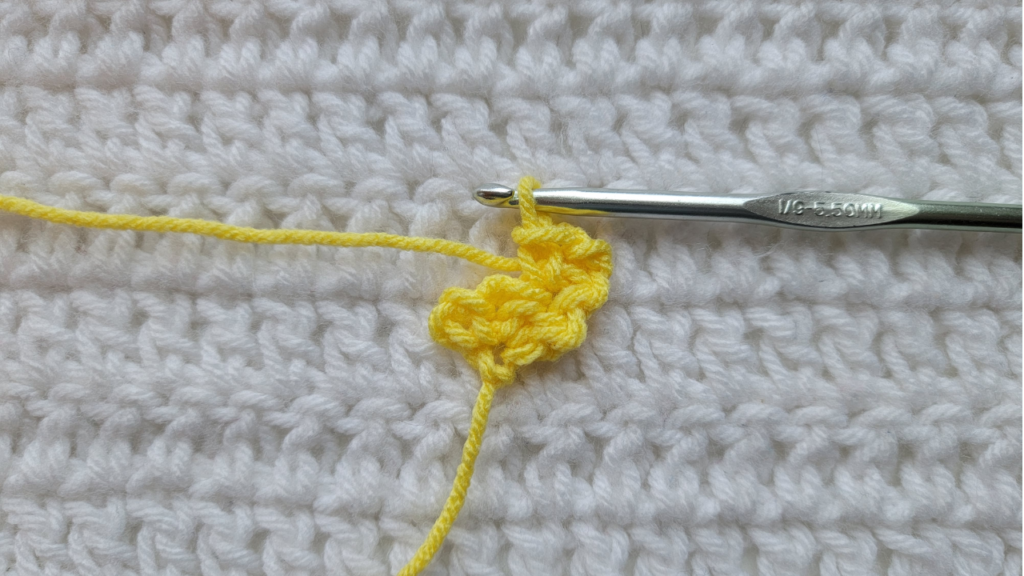
Make 1 SC into the next ST

Make 1 DC into the next ST

Make 1 SC + 1 DC into the last ST/space of this row

Increase Row: Make 2 CHs


Alternate between making 1 SC and 1 DC into each ST across until you reach the last ST/space of your row

Make 1 SC + 1 DC into that last ST/space of your row

You would now continue repeating the Increase Row to make your square as wide as you want

Transition Row: Make 1 CH

We're going to make a SC/DC Decrease in the 1st 2 STs
Insert your hook into the 1st ST, grab that yarn, bring it through to pull up 1 loop
2 loops on your hook total

Yarn over your hook 1 time

Insert your hook into the 2nd ST, grab that yarn, bring it through to pull up 1 loop
4 loops on you hook now

Yarn over your hook 1 time

Take that yarn through 2 loops on;y
3 loops left on your hook

Yarn over your hook 1 time

Take that yarn through all 3 loops to complete that SC/DC Decrease ST

Alternate between making 1 SC and 1 DC into each ST across, until you have 2 STs left in your row

Repeat the SC/DC Decrease steps in the last 2 STs of your row to complete the Transition Row

Decrease Row: Make 1 CH

Repeat the steps for the SC/DC Decrease into the 1st 2 STs of this row


Then alternate between making 1 SC and 1 DC into each ST across until you have 2 STs left in your row


Then repeat the steps for the SC/DC Decrease into the last 2 STs of this row

You would now continue repeating the Decrease Row until you have 1 Row left of your square

Last Row: Make 1 CH

Repeat the steps for the SC/DC Decrease into the 1st 2 STs of this row
You'll have 1 ST/space left in this row


Make 1 SC into that last ST/space to complete your square

❈ ❈ ❈ ❈ ❈ ❈ ❈ ❈ ❈ ❈

❈ ❈ ❈ ❈ ❈ ❈ ❈ ❈ ❈ ❈
Check out this playlist featuring more C2C Stitches here!
The Mini Berry Stitch, tutorial here!
The Fisherman Stitch, tutorial here!
Single Crochet Puff Stitch, tutorial here!