For this tutorial you'll need to know how to make Chains (CH), I have a tutorial here! How to make the Slip Stitch (SL ST), tutorial here! How to make the Single Crochet Stitch (SC), tutorial here! And how to make the Double Crochet Stitch (DC), tutorial here!
❈ ❈ ❈ ❈ ❈ ❈ ❈ ❈ ❈ ❈

Row 1: Make 20 CHs

Make 1 SC into the 2nd CH from your hook


Make 1 SC into each CH across

Row 2: Make 3 CHs (Counts as 1 DC)
Now we are going to work our rectangle around these SC we made in Row 1

Make 2 DC into that 1st ST

Skip 2 STs, make 3 DC into the next ST

Skip 2 STs, make 3 DC into the next ST

Repeat the step above until you have 2 STs left in your row + a CH

Skip those 2 STs, make 3 DC into that CH
We are going to work around to the other side now

Make 2 CHs

Make 3 DC into that same CH as the 3 DC you had just made

Make 2 CHs, Make 3 DC into that same CH space as the DC you had just made

Then skip 2 STs, make 3 DC into the next ST until you reach the end again

Make 2 CHs

Make 3 DC into the same ST as the DC you had just made


Make 2 CHs, SL ST into the 1st CHs you made in this row to complete

Row 3: Start at any previous space between STs on the side of your rectangle, Make 3 CHs (Counts as 1 DC)
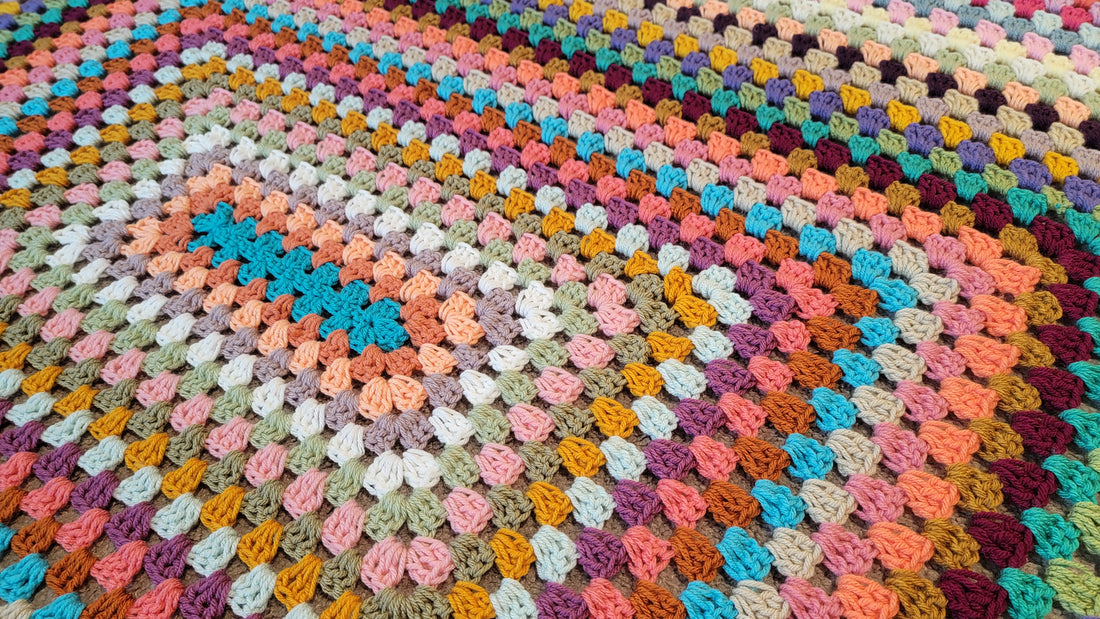
So now we will be working the Granny Stripe Stitch around, tutorial here if you're not familiar with it!

Make 2 DC into that same space

Make 1 CH, SK 3 STs

*Make 3 DC into the next space

Make 1 CH, SK 3 STs

Repeat the steps above from * until you reach a corner space (previous CH 2 space)

3 DC, CH 3, 3 DC all into that corner space

Make 1 CH, SK 3 STs

3 DC, CH 3, 3 DC all into that next corner space

Make 1 CH, SK 3 STs, make 3 DC into the each next space until you reach the next corner space

3 DC, CH 3, 3 DC all into that next corner space

Make 1 CH, SK 3 STs

3 DC, CH 3, 3 DC all into that next corner space

Make 1 CH, SK 3 STs


SL ST into the 1st CHs you made in this row to complete
Repeat Row 3 for however long you want your project
As your rectangle gets bigger you will have more open spaces on each side. The sequence will still stay the same (3 DC in between then CH 1, SK 3) for the sides. Then for the corners: (3 DC, CH 3, 3 DC).
I made 40 Rows total for my example blanket

❈ ❈ ❈ ❈ ❈ ❈ ❈ ❈ ❈ ❈

❈ ❈ ❈ ❈ ❈ ❈ ❈ ❈ ❈ ❈
Check out this playlist featuring more free blanket tutorials here!
Cats Eye Lace Stitch, tutorial here!
The Waffle Stitch, tutorial here!
Mini Basket Weave Stitch, tutorial here!