
❈ ❈ ❈ ❈ ❈ ❈ ❈ ❈ ❈ ❈

Thanks for visiting my page! Here is a new free pattern from me! My Peppy Rectangle Blanket Pattern features the Granny Stipe Stitch in a gorgeous rectangle!
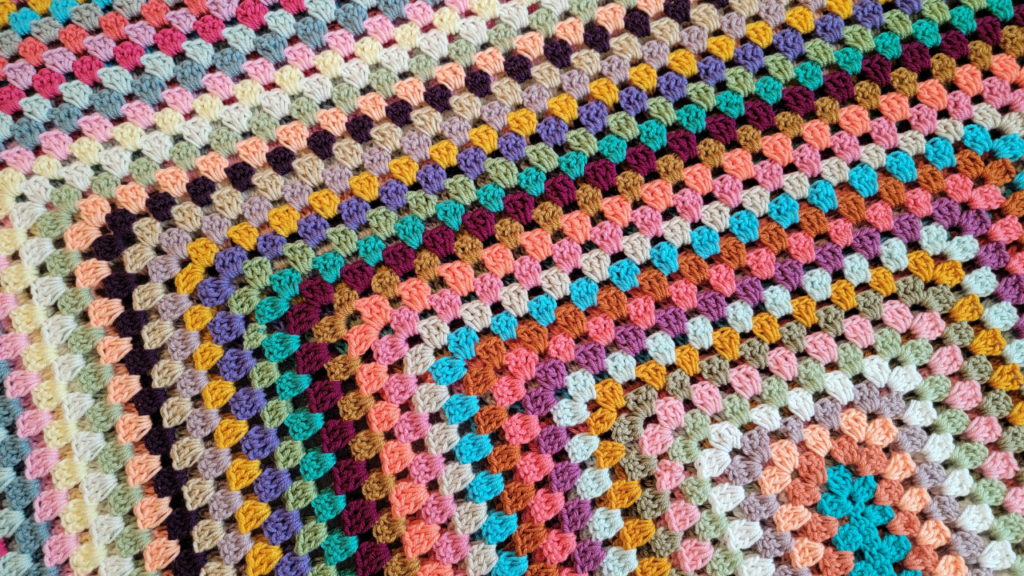
It's just the one stitch repeated over and over again!

Very fast and fun to work up!
❈ ❈ ❈ ❈ ❈ ❈ ❈ ❈ ❈ ❈
Here is the free pattern/tutorial:
Materials:
Yarn – Any yarn will work – I used Medium/DK weight for my example blanket
Crochet hook – Any hook will work – I used a I hook for my example blanket – 5.5 MM
Scissors
Stitch Markers
Notes:
I Fasten Off each row to change colors:
Video tutorial here and step by step photo tutorial here!
To keep you rectangle straight, flip every row
Crochet Stitches Needed:
Chain – CH
Stitch – ST
Skip – SK
Slip Stitch (SL ST):
Video tutorial here!
Step by step photo tutorial here!
Single Crochet Stitch (SC):
Video tutorial here!
Step by step photo tutorial here!
Double Crochet Stitch (DC):
Video tutorial here!
Step by step photo tutorial here!
Picot Stitch (PI):
Video tutorial here!
Step by step photo tutorial here!
Pattern:
CH 20,
Row 1: SC into 3rd CH from your hook, 1 SC into each CH across
Row 2: CH 3, 2 DC into the 1st ST, *SK 2 STs, 3 DC into next ST, repeat from * until you reach the end of your row, make 3 DC into the CHs from your last row, CH 2, 3 DC into that same space, *SK 2 STs, 3 DC into the next ST, repeat again from * around, SL ST into the 1st CHs you made in this row to complete
Row 3: (Start at any corner space) CH 3, 2 DC into the corner space, CH 3, 3 DC into same corner space, this is where you would continue like a regular Granny Stitch row, *SK 3 STs, CH 1, 3 DC into next open space, repeat from * for each side, until you get to your next corner, at any corner: (3 DC, CH 3 3 DC) into that corner space, SK 3 STs, CH 1, (3 DC, CH 3 3 DC) into the next corner space, repeat the steps for each side now, when you reach the end of your row, SL ST into the 1st CHs you made in this row to complete
Repeat row 3 for however long you want your project
Like the regular Granny Stitch, work 3 DC into each side open space and (3DC, CH 3, 3 DC) into each corner. As you make more rows you’ll add more spaces to each side to work into.
Border:
Row 1: (Start at corner space) CH 3, 2 DC, 3 CH PI on top of DC just made, 3 more DC into that same space, *SK to next open space, (DC, CH 2, DC) into that space, repeat from * until you reach the next corner space, at the corner space: 3 DC, 3 CH PI on top of DC just made, 3 more DC into that same space, repeat from * around, SL ST into the 1st CHs you made in this row to complete
❈ ❈ ❈ ❈ ❈ ❈ ❈ ❈ ❈ ❈
You can find this free blanket pattern here in my Ravelry shop if you want to download the free PDF or here in my Ribblr shop!
Video tutorial on Youtube here!
Full step by step photo tutorial for this blanket here!
Let me know what you think of this pattern! Enjoy! 🎉
❈ ❈ ❈ ❈ ❈ ❈ ❈ ❈ ❈ ❈

❈ ❈ ❈ ❈ ❈ ❈ ❈ ❈ ❈ ❈
Check out this playlist featuring more free Blanket Patterns here!
Here are some more blanket patterns to check out:
Cozy Comfort Throw, pattern here!
Circle Of Hope Afghan, pattern here!
Radiate Joy Blanket, pattern here!
You can find video tutorials from me here!
More crochet patterns from me here!
& photo tutorials from me here! 💗
You can follow me on all social media @crochetmelovely!
Don't forget to sign up for the CML email list to get notifications whenever I upload new content! Located at the very bottom of my home page!
❈ ❈ ❈ ❈ ❈ ❈ ❈ ❈ ❈ ❈